English ▼
How to Create Professional Videos with KineMaster
July 1, 2024 (10 months ago)

KineMaster is a comprehensive video editing app designed to cater to both beginners and professionals. Its intuitive interface and powerful features make it a go-to choice for mobile video editing. Whether you are a content creator, a business owner, or just someone who loves making videos, KineMaster provides all the tools you need to create high-quality content.
Getting Started with KineMaster
Download and Install KineMaster
To get started, download and install KineMaster from the Google Play Store or Apple App Store. The app offers a free version with basic features, but to unlock its full potential, consider subscribing to KineMaster Premium, which removes watermarks and provides access to premium assets.
Setting Up Your First Project
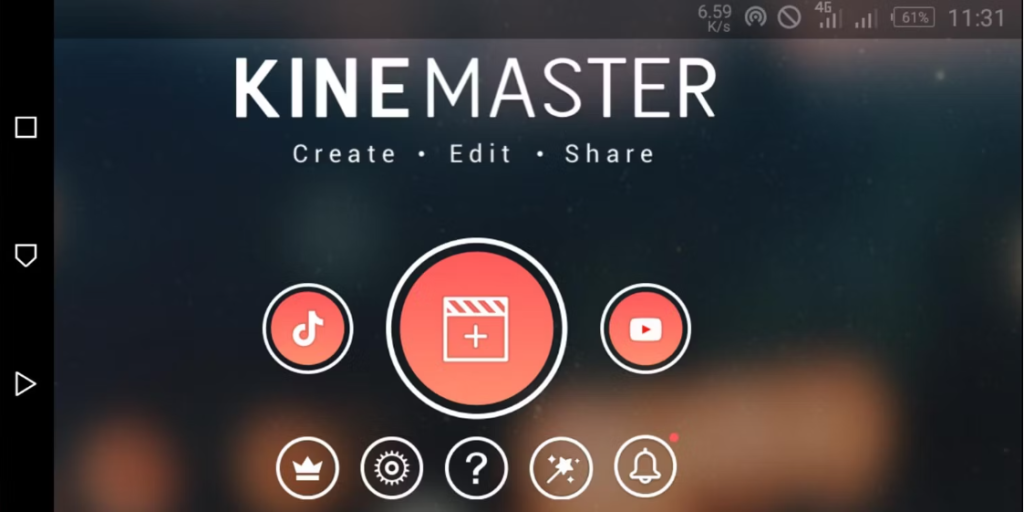
Once installed, open KineMaster and tap on the “New Project” button. You will be prompted to choose the aspect ratio for your video. Common aspect ratios include 16:9 for YouTube and widescreen videos, 9:16 for Instagram Stories and TikTok, and 1:1 for Instagram posts.
Importing Media Files
To begin editing, import your media files (videos, images, and audio) into KineMaster APK. Tap the “Media” button and select your files from your device’s storage. Arrange them on the timeline in the order you want them to appear in your video. This organization will make editing more manageable.
Key Features of KineMaster
KineMaster is packed with features that allow you to create professional-quality videos. Here are some key features to familiarize yourself with:
Multiple Layers
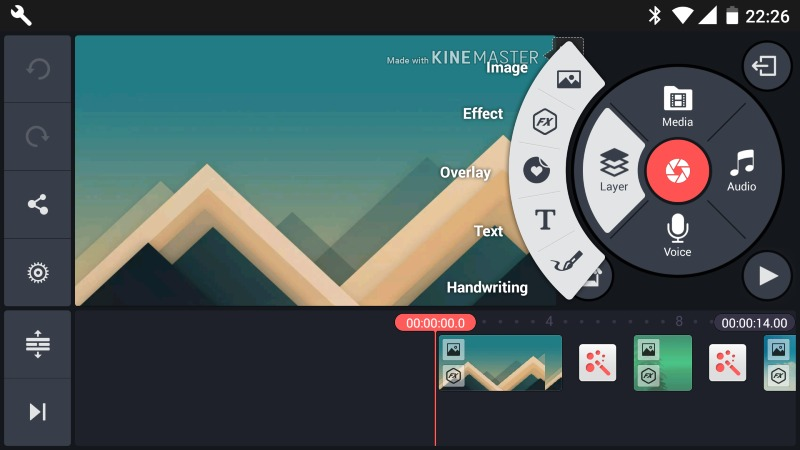
KineMaster supports multiple layers of video, images, text, and effects. This feature allows you to overlay different elements to create complex and dynamic videos. To add a new layer, tap the “Layer” button and select the type of layer you want to add (e.g., video, image, text).
Keyframe Animation
Keyframe animation allows you to create smooth and dynamic motion in your video. To use keyframes, select the layer you want to animate, then tap the “Keyframe” button. Move the playhead to the desired point on the timeline and adjust the layer’s position, scale, or rotation. KineMaster will automatically create a smooth transition between keyframes.
Chroma Key (Green Screen)
The chroma key feature lets you replace a specific color in your video with another image or video, commonly used for green screen effects. To use chroma key, add a video layer with a green or blue background. Tap on the layer, select “Chroma Key,” and adjust the settings to remove the background color.
Blending Modes
Blending modes control how different layers interact with each other. KineMaster offers various blending options, such as Multiply, Overlay, and Screen. To apply a blending mode, select the layer, tap “Blending,” and choose the desired mode. Experiment with different modes to achieve unique visual effects.
Audio Editing
Good audio is crucial for a professional video. KineMaster allows you to add multiple audio tracks and adjust their volume, fade in/out, and apply effects. To edit audio, tap the audio layer, then use the available tools to enhance the sound quality.
Color Correction
Color correction can dramatically improve the look of your video. KineMaster provides various tools to adjust brightness, contrast, saturation, and more. To access these tools, tap on the video layer, select “Color Adjustment,” and tweak the settings to achieve the desired look.

Speed Control
Adjusting the speed of your video can create dramatic or comedic effects. To change the speed, select the video layer, tap “Speed Control,” and choose the desired speed. You can make the video play faster or slower, depending on your creative vision.
Transitions
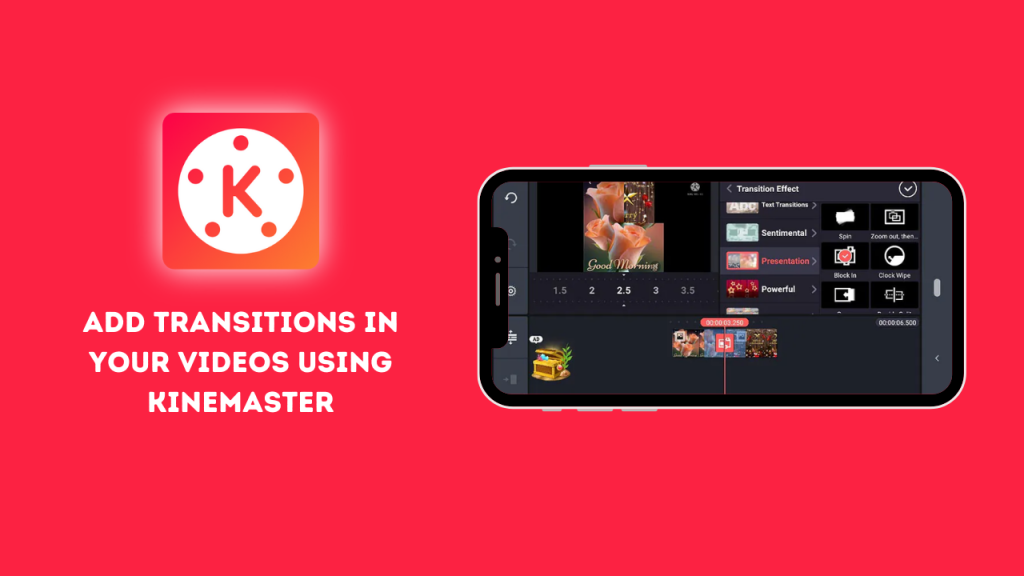
Transitions help smooth the shift from one clip to another. KineMaster offers various transition effects like dissolve, wipe, and 3D transitions. To add a transition, tap the “Transition” button between two clips on the timeline and select the desired effect.
Effects and Overlays
KineMaster comes with a variety of visual effects and overlays that can enhance your video. These include filters, glitch effects, and animated stickers. To add an effect, tap the “Effects” button, choose the effect you want, and apply it to the desired layer.
Step-by-Step Guide to Creating a Professional Video
Step 1: Plan Your Video
Before you start editing, it’s important to plan your video. Determine the purpose of your video, the target audience, and the key messages you want to convey. Create a storyboard or a shot list to outline the scenes and shots you need.
Step 2: Shoot High-Quality Footage
The quality of your raw footage greatly impacts the final video. Use a good camera, stable shots, and proper lighting to capture high-quality footage. Pay attention to sound quality as well, as clear audio is essential for professional videos.
Step 3: Import and Organize Media
Open KineMaster and start a new project. Import your media files and organize them on the timeline. Arrange the clips in the order you want them to appear in the final video. This will serve as the foundation for your editing process.
Step 4: Trim and Split Clips
Trim and split your clips to remove unwanted sections and create a smooth flow. To trim a clip, select it on the timeline, tap the “Trim” button, and adjust the start and end points. To split a clip, move the playhead to the desired point, tap the clip, and select “Split.”
Step 5: Add Transitions
Transitions help smooth the shift from one clip to another. Tap the “Transition” button between two clips on the timeline and choose the desired effect. Experiment with different transitions to find the ones that best suit your video.
Step 6: Apply Effects and Overlays
Enhance your video with visual effects and overlays. Tap the “Effects” button, choose the effect you want, and apply it to the desired layer. Use overlays like text and stickers to add information and visual interest.
Step 7: Adjust Color and Exposure
Use KineMaster’s color correction tools to adjust the brightness, contrast, saturation, and more. This can dramatically improve the look of your video and ensure a consistent visual style. Tap on the video layer, select “Color Adjustment,” and tweak the settings to achieve the desired look.
Step 8: Add Music and Sound Effects
Audio plays a crucial role in video production. Add background music and sound effects to enhance the viewer’s experience. Tap the “Audio” button, select your audio files, and place them on the timeline. Adjust the volume, fade in/out, and apply effects as needed.
Step 9: Use Keyframe Animation
Keyframe animation allows you to create smooth and dynamic motion in your video. Select the layer you want to animate, then tap the “Keyframe” button. Move the playhead to the desired point on the timeline and adjust the layer’s position, scale, or rotation. KineMaster APK Pro will automatically create a smooth transition between keyframes.
Step 10: Apply Chroma Key Effects
If you have footage shot against a green or blue screen, use the chroma key feature to replace the background. Add a video layer with a green or blue background, tap on the layer, select “Chroma Key,” and adjust the settings to remove the background color. Replace it with another image or video to create a professional-looking effect.
Step 11: Add Text and Titles
Text and titles can provide important information and context to your video. Tap the “Layer” button, select “Text,” and enter your text. Customize the font, size, color, and animation to match your video’s style. Use titles to introduce sections, provide explanations, or add captions.
Step 12: Export and Share
Once you’re satisfied with your edits, it’s time to export your video. Tap the “Export” button, choose the resolution and frame rate, and save your video to your device. KineMaster supports various export options, including 4K resolution. After exporting, share your video on social media platforms, YouTube, or other desired channels.

Tips for Creating Professional Videos with KineMaster
Plan Ahead
Before you start editing, have a clear idea of what you want to achieve. Planning helps streamline the editing process and ensures you don’t miss any important shots or elements.
Keep It Simple
While KineMaster offers many advanced features, it’s important not to overdo it. Use effects and transitions sparingly to avoid overwhelming your viewers. Focus on telling a clear and engaging story.
Use High-Quality Assets
High-quality media files (videos, images, and audio) are essential for professional-looking videos. Use the best assets you can get and avoid low-resolution or poorly recorded files.
Experiment and Learn
Don’t be afraid to try new techniques and features. Experimentation can lead to unique and creative results. Take advantage of online tutorials and resources to learn more about KineMaster’s capabilities.
Save Frequently
Regularly save your project to avoid losing your progress due to unexpected issues. KineMaster allows you to save your project and come back to it later, so take advantage of this feature.
Conclusion
Creating professional-quality videos is achievable with KineMaster, a powerful and user-friendly mobile video editing app. Start by downloading and installing KineMaster from our website. KineMaster’s key features include multiple layers, keyframe animation, chroma key (green screen), blending modes, and advanced audio editing. Use multiple layers to overlay videos, images, text, and effects for complex and engaging content. Keyframe animation allows smooth transitions and dynamic motion. Chroma key lets you replace backgrounds for professional-looking effects, while blending modes enhance visual creativity. Enhance your video with color correction tools to adjust brightness, contrast, and saturation. Add transitions between clips for a seamless flow.
Recommended For You


